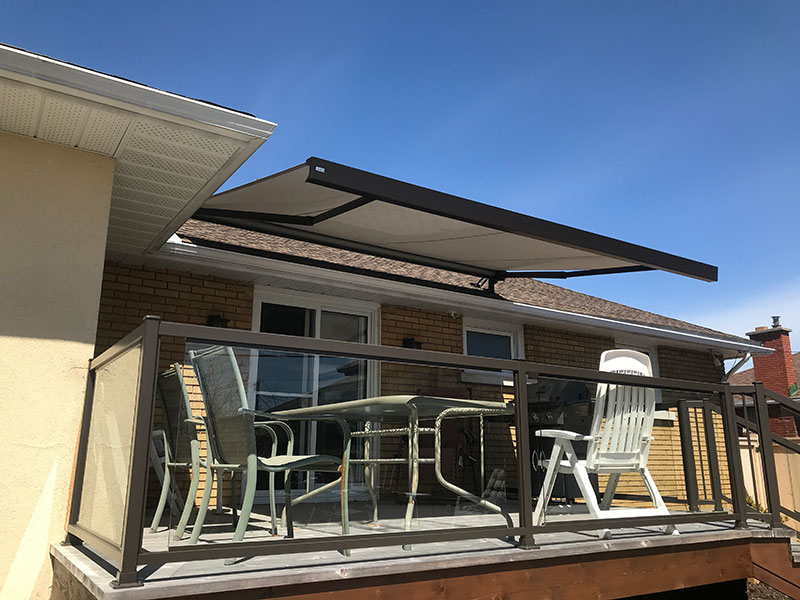
The Installation Process: What to Expect When Adding Universal Awnings to Your Home

Universal awnings are an excellent addition to any home, providing both aesthetic appeal and practical benefits. These versatile shading solutions can enhance your outdoor living spaces while protecting you from the sun’s harsh rays or unexpected rain showers. If you’re considering installing universal awnings, this article will guide you through the installation process, ensuring that you know what to expect every step of the way.
Step 1: Consultation and Planning
Before diving into the installation, it’s crucial to have a consultation with a reputable awning company. During this initial phase, a professional will assess your needs, take measurements, and discuss design options. This is your opportunity to express your preferences, such as the type of awning, fabric color, and the area you want to cover. Expect a detailed discussion about your budget, too.
Step 2: Customization and Fabric Selection
Once you’ve ironed out the details with your chosen awning company, they will start customizing your awning to fit your specifications. They will also assist you in selecting the right fabric for your awning. Fabrics vary in terms of color, durability, and UV resistance, so make sure to ask questions and make an informed decision.
Step 3: Installation Date
After all the planning and customization, the installation date will be set. The installation team will arrive with all the necessary tools and equipment to ensure a smooth process. Depending on the complexity of your project, the installation may take a few hours to a full day.
Step 4: Site Preparation
The installation team will begin by preparing the installation site. This may involve cleaning the area, removing any obstacles, and ensuring that the structure can safely support the awning. They will also mark the placement of the awning brackets and anchors.
Step 5: Mounting the Awning
With the site prepared, the installation team will begin mounting the awning. This involves attaching brackets to your home’s exterior and securing the awning frame in place. The professionals will take precise measurements to ensure the awning is level and properly aligned.
Step 6: Fabric Installation
Once the frame is securely in place, the chosen fabric will be installed. Careful attention is given to ensure the fabric is stretched tight, free from wrinkles or creases, and properly aligned. This step requires skill and precision to ensure the awning looks and functions as intended.
Step 7: Final Adjustments
After the awning is installed and the fabric is properly tensioned, the installation team will make final adjustments. This includes testing the awning’s operation, checking for any wrinkles or imperfections in the fabric, and ensuring that it provides adequate shade.
Conclusion
Adding universal awnings to your home is a fantastic way to enhance your outdoor living experience and protect yourself from the elements. By following the steps outlined above, you can have a clear understanding of what to expect during the installation process. Remember to consult with a professional awning company to ensure a seamless and hassle-free installation.
For any future maintenance or repairs, it’s advisable to partner with a reliable awning repair company. They can help you keep your awnings in top-notch condition, ensuring they continue to provide shade and style to your outdoor spaces. If you need any awning repairs, don’t hesitate to reach out to a trusted awning repair company to keep your investment in excellent shape.
